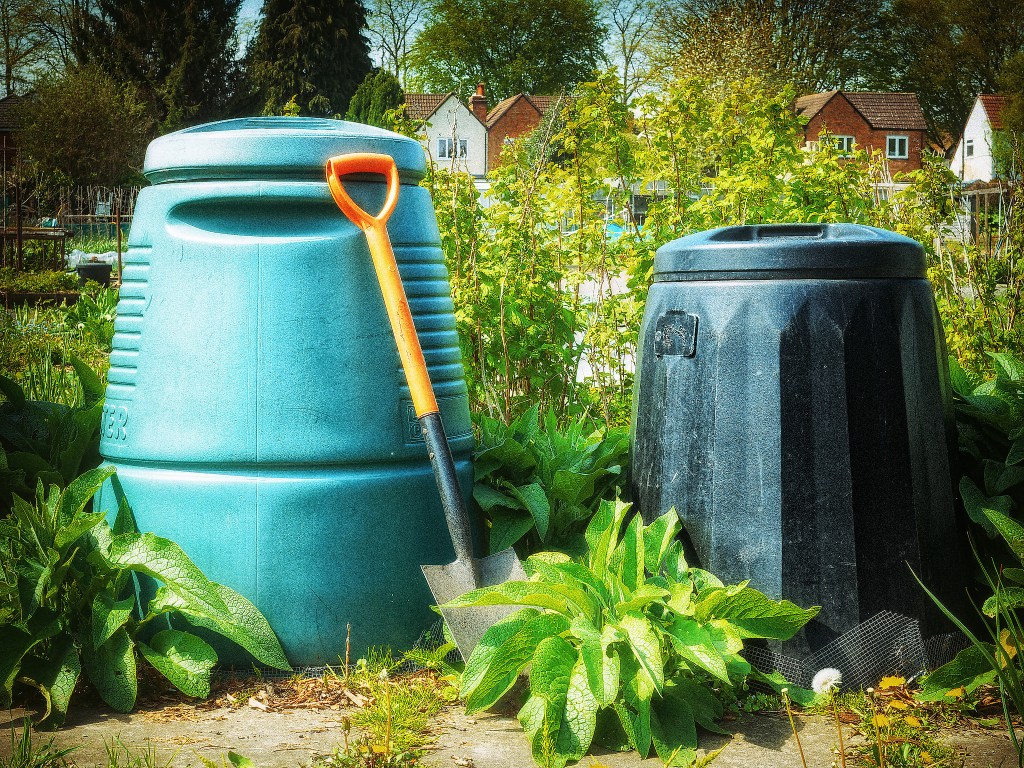
Plastic cone composters (‘Daleks’)
How do they work?
These bins are a simple container with an open base, allowing composting worms to enter. The hatch at the bottom can be used to take out finished compost. You can have several in a row, so that when one is full, you can start on the next.
Why use a plastic cone composter?
- They are a compact option, making them great for small gardens.
- They are fairly cheap to buy and can often be picked up second hand.
- Suitable for small spaces, or larger gardens can have a row of them.
- They are Simple to use.
What are the downsides?
- It can be tricky to turn the contents
- They can take a long time to make compost
- Rats can dig underneath, so if you are planning to compost food scraps, follow our tips for preventing rats on our ‘Troubleshooting’ page.
Where to put your bin
When choosing where to put your composter, remember you will be adding materials regularly, so put it somewhere easy to get to. If placing it near a fence leave a gap of about a foot/30cm, and if possible put it somewhere with some shade. Sometimes compost can attract tiny fruit flies, so most people prefer to not put their composter too close to their house.
Rat-proofing your bin
Because they have an open base, it can be worth placing your bin on flat slabs or lining with wire mesh to prevent rats from tunnelling up into them. This is vital if wanting to compost food scraps. Well rat-proofed bins are suitable for composting bokashi’d (fermented) food scraps, including meat and cooked food.
Instructions for building a compost pile
- Make your base layer – Add a base layer of course tough browns such as woodchip, twiggy materials or autumn leaves. This will help oxygen to flow through your pile. Your base layer should be at least 10cm deep.
- Chop – The smaller your chunks of materials, the quicker they will break down. Chop up any larger pieces with a spade or shears. Aim for chunks no bigger than 5cm if you want fast results. If this is too hard to manage, don’t worry, you will still get great compost, it will just take longer.
- Start filling your bin – For each bucket of greens, you will need a bucket and a bit of browns. Either add your bucket of greens, spread it out in a thin layer no deeper than 10cm, then add your browns. Or mix your browns and greens together first, then add them all in one go. Spread out evenly. Repeat until you have used up all your materials. It’s best to finish with a layer of browns, to prevent smells and fruit flies.
- Is it wet enough? – You are aiming for a pile which feels damp. If you have a lot of very wet greens, like food scraps or grass clippings, and you have mixed them well with your drier ingredients, this may be enough to dampen your pile. If not, water it well with each layer you add. If you’re not sure, it’s better to make it too damp than too dry.
- Repeat – Keep doing steps 4 and 5 till your bin is full. This might take days, weeks or months depending how much material you have to compost. Your bin might never get full if you don’t have much material to compost.
Checking on your pile
Check your compost regularly by digging into it or taking out a handful. Look at it: notice the smell and texture. Think about whether it has enough of the four key composting ingredients: Carbon, nitrogen, water and oxygen.
Is it slimy and smelly? This is likely due to too many greens. Add some more browns and give them a good mix. Check again in a week.
Is it bone dry? This will stop it breaking down quickly. Either stir in more water, until the whole pile is damp, or add more wet, juicy greens such as fresh lawn clippings or food scraps. Or do both!
Harvest your finished compost
It can take between 6-24 months after putting your last ingredients in until compost is ready. Your bin doesn’t have to be full before you can get finished compost from the bottom.
You will know your compost is ready when it is dark brown, crumbly, and any green materials are not recognisable. It won’t look like shop-bought compost and this is a good thing! If you have lots of sticks or larger chunks of woodchip, take them out and use them in your next batch.
Take out your finished compost by lifting up the bin, a bit like a giant sandcastle! If this is too hard, you can also just push it over. Get the finished compost from the bottom, and shovel any uncomposted materials back into the bin.
